Deliciously Creamy: Unleashing the Simple Pleasure of Homemade Vanilla Ice Cream
Introduction
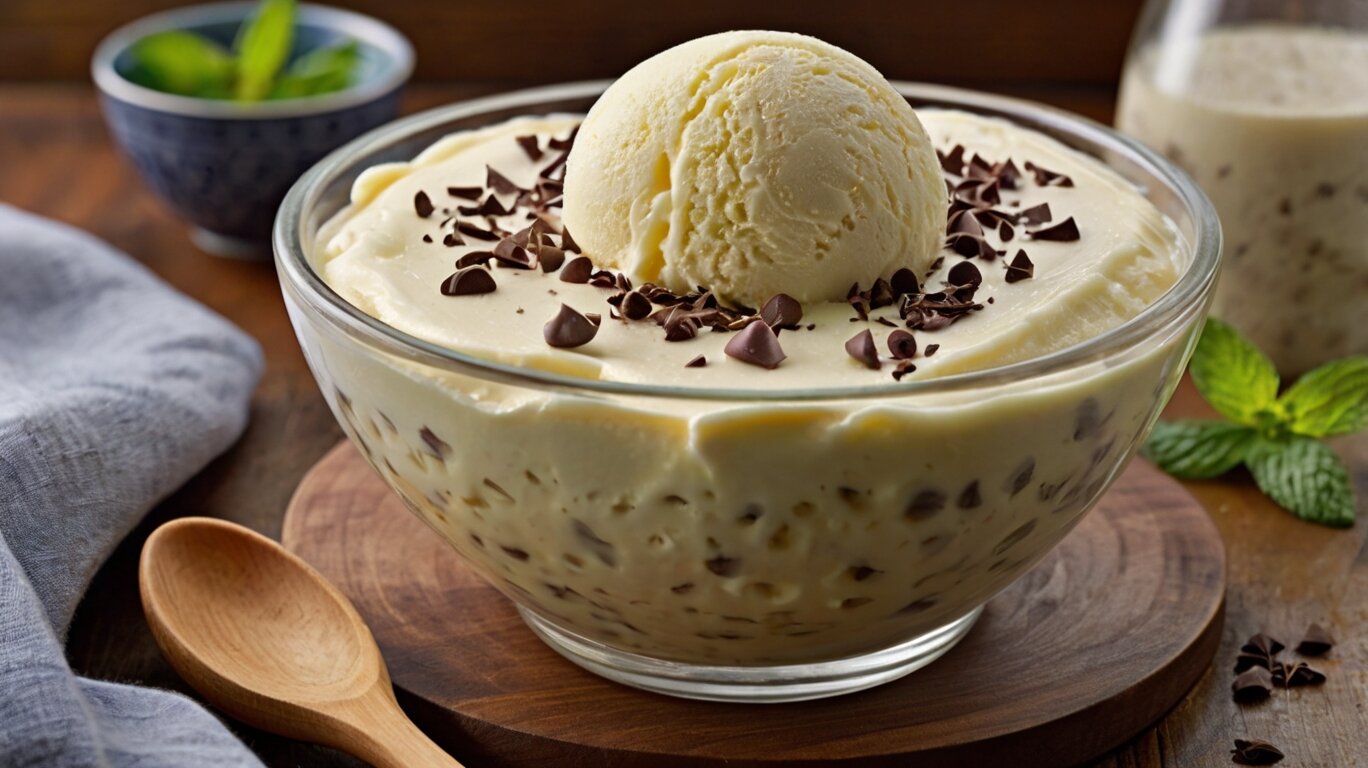
Are you ready to indulge in the simple pleasure of homemade vanilla ice cream? Look no further! In this article, we will uncover the secrets to creating deliciously creamy vanilla ice cream right in the comfort of your own kitchen. Imagine the rich, velvety texture melting on your tongue, with the exquisite taste of real vanilla beans dancing on your taste buds. No more settling for store-bought varieties filled with artificial flavors and preservatives. With our easy-to-follow recipe and tips, you’ll be able to whip up the perfect batch of homemade vanilla ice cream every time.
Whether you’re a seasoned ice cream aficionado or a newbie in the kitchen, our step-by-step instructions will guide you through the process, ensuring that you achieve that perfect balance of creaminess and flavor. From choosing the best ingredients to mastering the art of churning, we’ve got you covered. So, get ready to impress your family and friends with your very own homemade vanilla ice cream that will rival any gourmet dessert. Unleash your inner ice cream maestro and prepare to savor the sweet rewards.
The Allure of Homemade Vanilla Ice Cream
There’s something irresistibly charming about homemade vanilla ice cream. It’s a dessert that transcends age, culture, and culinary skill. The allure lies in its simplicity, yet it carries a depth of flavor that’s unmatched by most store-bought varieties. When you create vanilla ice cream at home, you have full control over the ingredients, ensuring the freshest and purest flavors. This dessert becomes a canvas for your creativity, allowing you to experiment with different textures, sweetness levels, and even mix-ins. Homemade vanilla ice cream isn’t just a treat; it’s an experience, a return to the basics of enjoying food in its purest form.
The History of Vanilla Ice Cream
Vanilla ice cream’s history is as rich as its flavor. While ice cream itself dates back to ancient civilizations, it wasn’t until the 17th century that vanilla was introduced as a flavor. Originally, ice cream was a luxury item reserved for the elite, with recipes that included a variety of exotic spices and fruits. Vanilla, discovered during the Spanish conquest of Mexico, quickly became a favorite flavor in Europe and America. The simplicity and universal appeal of vanilla made it a staple in households, and by the late 19th century, it was widely available in the form of ice cream. Today, vanilla ice cream is synonymous with comfort, tradition, and timeless indulgence.
The Science Behind Creamy Homemade Ice Cream
Creating creamy homemade vanilla ice cream involves more than just mixing a few ingredients together. The secret lies in understanding the science behind it. Ice cream is an emulsion, meaning it’s a mixture of fat, water, and air. Achieving the right balance between these elements is key to creating that smooth, creamy texture. The fat, usually from cream or milk, provides richness, while sugar lowers the freezing point, preventing the ice cream from becoming too hard. Air is incorporated during the churning process, which lightens the texture and makes the ice cream more palatable. Understanding these principles will help you master the art of homemade ice cream.
Ingredients for Homemade Vanilla Ice Cream
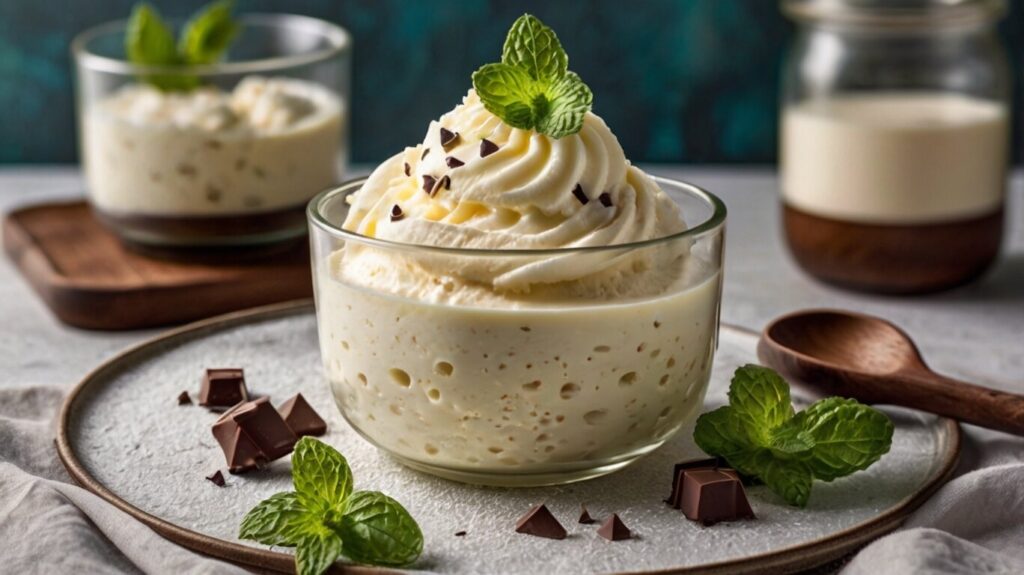
To create the perfect homemade vanilla ice cream, you need high-quality ingredients. Here’s what you’ll need:
- Heavy Cream: Provides the richness and creamy texture.
- Whole Milk: Balances the richness with a lighter consistency.
- Sweetener: Provides sweetness and helps in achieving a smooth texture.
- Vanilla Beans: The star ingredient that infuses the ice cream with pure vanilla flavor.
- Egg Yolks: Optional, but they add a custard-like texture.
- Salt: Enhances the flavors.
When selecting ingredients, always opt for the freshest and best quality available. Real vanilla beans, for instance, offer a depth of flavor that vanilla extract simply can’t match.
Step-by-Step Guide to Making Delicious Vanilla Ice Cream
Step 1: Prepare the Vanilla Base
Start by splitting the vanilla bean lengthwise and scraping out the seeds. Combine the seeds and pod with the milk, cream, and half of the sugar in a saucepan. Heat until the mixture is steaming but not boiling, then remove from heat and let the vanilla infuse.
Step 2: Create the Custard
If you’re using egg yolks, whisk them with the remaining sugar in a bowl until pale and thick. Gradually pour the warmed milk mixture into the egg yolks, whisking continuously to prevent the eggs from scrambling. Transfer the mixture back to the saucepan and cook on low heat, stirring steadily, until it thickens and can coat the back of a spoon.
Step 3: Churn the Ice Cream
Once the custard base has cooled, remove the vanilla pod and pour the mixture into your ice cream maker. Follow the manufacturer’s guidelines to churn the mixture until it reaches a creamy, soft-serve consistency.
Step 4: Freeze
Transfer the churned ice cream to a lidded container and freeze for at least 4 hours, or until firm. Your homemade vanilla ice cream is now ready to enjoy!
Tips for Perfecting Your Homemade Ice Cream
- Chill the Base: Ensure the custard base is thoroughly chilled before churning to achieve a smoother texture.
- Use Fresh Ingredients: The quality of your ingredients, especially the vanilla beans and cream, directly impacts the flavor and texture.
- Don’t Rush the Process: Allow enough time for the ice cream to freeze properly. Rushing can result in a grainy texture.
Variations and Flavor Additions for Your Vanilla Ice Cream
While classic vanilla is delightful on its own, there’s no limit to the flavors you can create. Here are some variations:
- Chocolate Swirl: Melt your favorite chocolate and swirl it into the churned ice cream before freezing.
- Fruit Add-ins: Fold in fresh berries, mango, or peaches for a fruity twist.
- Nuts and Caramel: Add roasted nuts and a drizzle of caramel sauce for a decadent treat.
Serving and Presentation Ideas for Your Homemade Ice Cream
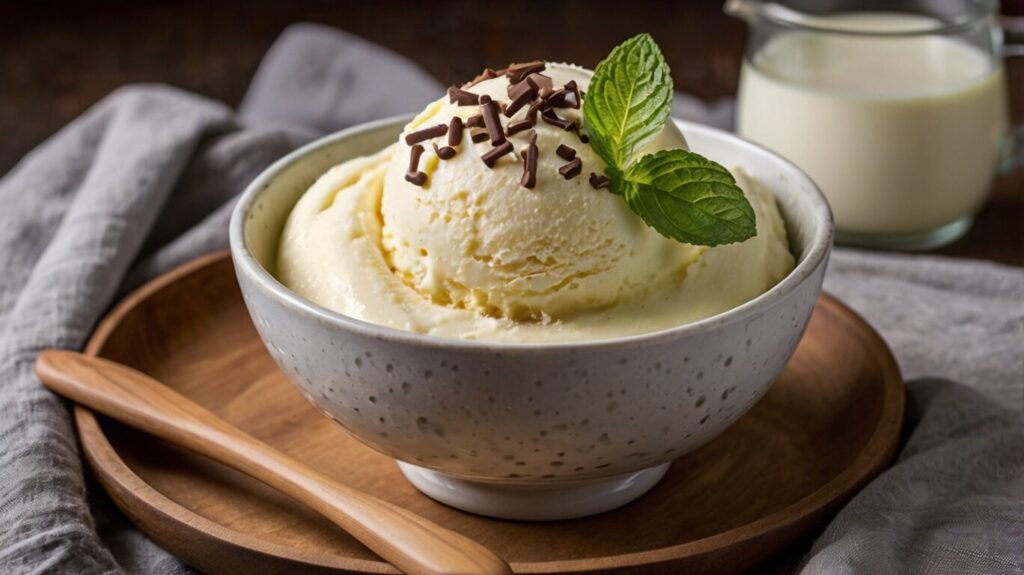
Presentation matters just as much as taste. Serve your vanilla ice cream in elegant glass bowls, topped with fresh fruit, chocolate shavings, or a sprig of mint. For a more rustic approach, scoop it into homemade waffle cones. Consider pairing it with desserts like Chocolate Cake or Coconut Cake for a truly indulgent experience.
Homemade Ice Cream vs Store-Bought: A Taste Test Comparison
When comparing homemade ice cream to store-bought varieties, the difference is striking. Store-bought ice cream often contains artificial flavors, preservatives, and stabilizers, which can compromise taste and texture. In contrast, homemade ice cream is free from these additives, offering a purer, more authentic flavor. The creaminess of homemade vanilla ice cream, especially when made with fresh ingredients, is unparalleled. Conducting a taste test will quickly reveal the superiority of homemade versions, both in flavor and satisfaction.
Conclusion: Enjoying the Simple Pleasure of Homemade Vanilla Ice Cream
There’s nothing quite like the satisfaction of enjoying a scoop of homemade vanilla ice cream. The process of creating it from scratch allows you to control every aspect, from the quality of the ingredients to the final texture. Whether you enjoy it as is, or with creative variations, homemade vanilla ice cream is a timeless dessert that never fails to please. So why settle for anything less? Unleash your inner ice cream maestro, and discover the simple pleasure of making—and enjoying—your very own creamy, delicious vanilla ice cream.
Body temperature can influence body weight
This news might seem surprising, but it’s a groundbreaking finding from Stanford University School of Medicine. Body temperature has a significant influence on weight, and by regulating it, you could work towards achieving your ideal shape and measurements. This discovery raises an important question: how can the average person regulate their own body temperature? The answer lies in the video below. Click to watch!
The Ultimate Guide to Boosting Your Health with Beetroot Juice and Lemon


